We looked at gamut warning, which highlights colours in grey if they wont be visible when coming to print. To adjust the picture you can use Hue and saturation, this will allow you to get rid of the grey areas, leaving you with an image which will be more professional for print. Often after changing the hue the image can look out of place, so finding the correct colour for the image can be difficult.
Below we looked at layer masks. These allow you to highlight a specific area of an image and edit it without ruining the original image.
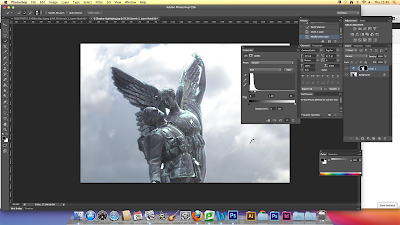
Below is the quick selection tool. This allows you to quickly select sections of an image, which then can be edited. Below is an image of a statue which i have brightened using the quick selection tool and levels. Levels allow you to adjust the amount of black, white and grey in an image.
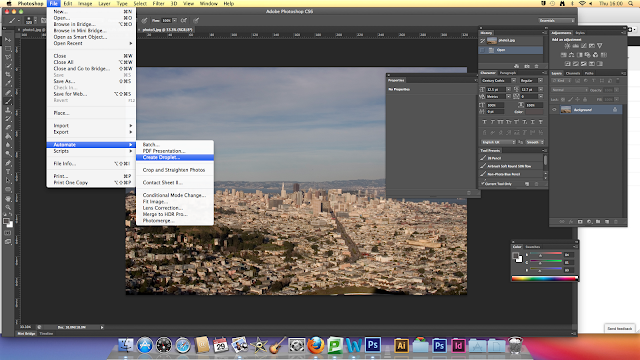
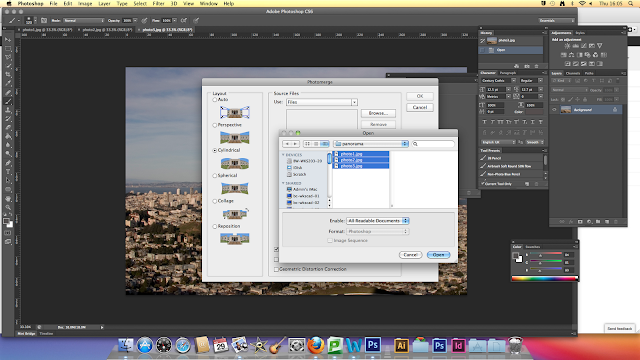
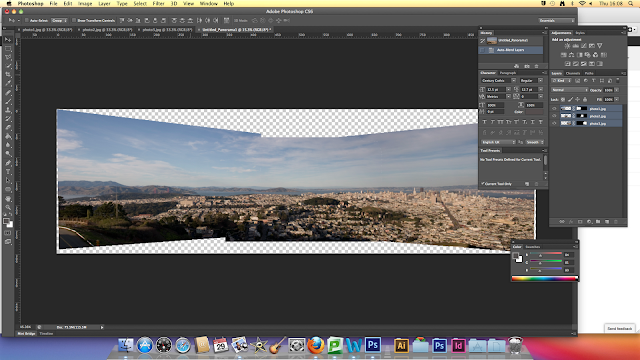
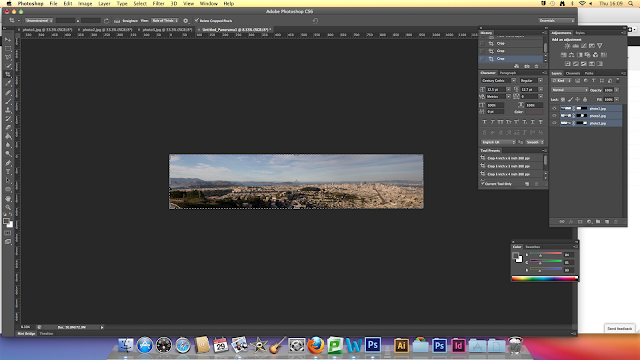
Simon also showed us how to merge several image taken from a specific point to create a panorama image.
Second session:
In the second photoshop session Simon showed us how to combine several images taken from a set place, preferably busy. The software then scans through the images deleting anything which moves, leaving you with an image without any people, cars, birds etc.
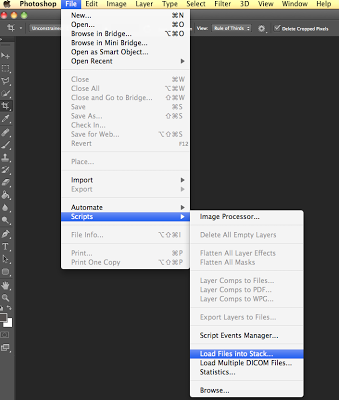
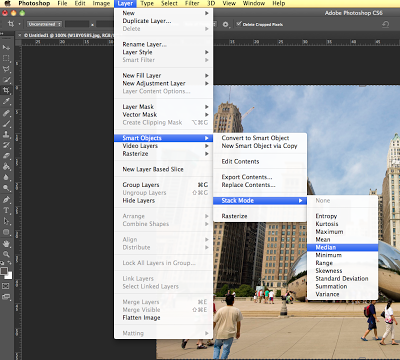
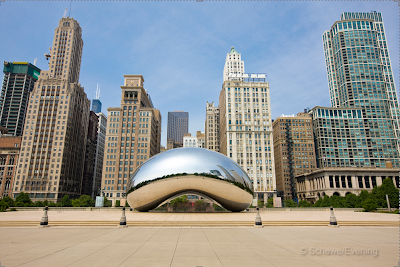
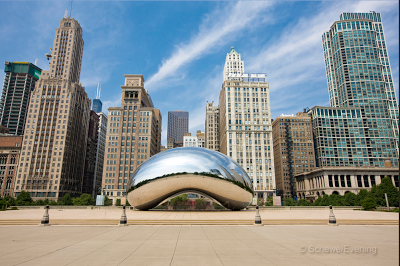
Using this technique effects the sky by merging the blue together. We were able to select the sky from one if the images merged and place it into the image:
Contact sheet:
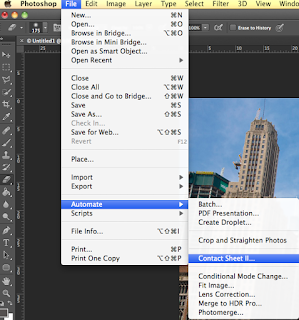
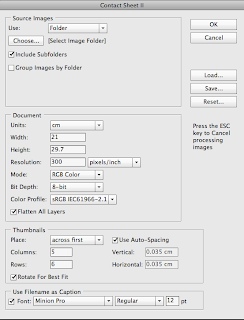
Simon showed us how to create a contact sheet which is used in photography for the person purchasing the photographs.
Below are to types of file formats which can be used for print.
Lossless - file formats that are for print. - TIFF
Lossi - file formats suitable for the internet. - JPEG


No comments:
Post a Comment